
Step-by-Step Guide to Smoking Ribs: From Raw Rack to Backyard Legend
Chosen theme: Step-by-Step Guide to Smoking Ribs. Learn the essentials, avoid common mistakes, and master each stage so your next rack turns tender, smoky, and unforgettable. Subscribe to follow every step.
Offset, kettle, pellet, or electric—each smoker offers unique airflow, heat profiles, and convenience. Start by cleaning grates, clearing ash, and arranging fuel for steady heat. Place a water pan for humidity, and stabilize your vents before the ribs ever touch the metal.
Gather Your Gear and Wood
Hickory brings bold richness, while apple and cherry add gentle sweetness perfect for pork ribs. Mix woods to layer flavors, but avoid resinous, sappy options. Keep chunks or splits seasoned and dry, and feed the fire sparingly for clean, sweet-smelling smoke.
Gather Your Gear and Wood
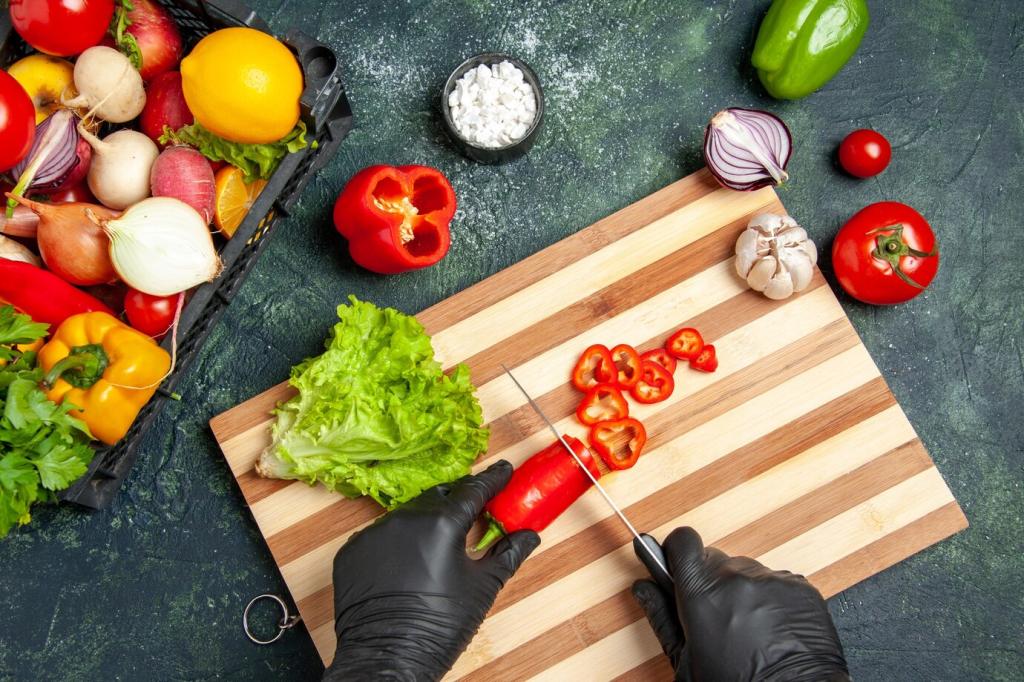
Prep the Rack: Trim, Peel, and Season
Flip the rack bone-side up, slide a spoon handle under the membrane, and pull with a paper towel for grip. Removing it helps smoke and seasoning penetrate, and prevents a papery chew. Take your time; this small step dramatically improves texture and tenderness.
Lightly salt both sides of the ribs and rest uncovered in the refrigerator for several hours or overnight. Salt draws moisture, dissolves into the meat, and amplifies flavor. The dry surface also promotes a better bark, crucial for beautiful texture and color.
Build a rub with kosher salt, brown sugar, paprika, black pepper, garlic, and a whisper of cayenne. Taste it dry to confirm balance before applying. Press, don’t rub, so you don’t scuff the meat, and coat evenly to encourage a consistent, appetizing crust.
Light the Fire: Temperature and Smoke Control
Aim for thin, almost invisible blue smoke. Thick white smoke signals smoldering wood that can coat ribs with bitterness. Preheat your cooker, burn off initial moisture from wood, and let the fire breathe. Clean smoke equals cleaner flavor and simpler seasoning choices.

Light the Fire: Temperature and Smoke Control
Hold a steady 225–250°F to gently render fat without drying the ribs. Adjust vents in small increments and wait before changing again. Wind and weather affect draft, so shield your cooker if possible. Consistency here is the foundation of dependable tenderness.
The 3-2-1 Roadmap
Place ribs bone-side down and let smoke gently kiss the meat. Spritz every 45–60 minutes to prevent dryness and encourage color. Watch for bark formation rather than the clock; you want tacky, set seasoning that won’t smear when touched lightly with a finger.
The 3-2-1 Roadmap
Wrap ribs in foil or butcher paper with a modest splash of apple juice or butter. The wrap traps heat and moisture, pushing collagen toward tenderness. Avoid over-steaming; you’re coaxing, not boiling. Peek briefly if needed, then seal again to retain precious heat.
Sauce, Spritz, and Mop

When and How to Spritz
Begin spritzing after the bark starts to form to avoid washing off rub. Use apple cider vinegar, diluted apple juice, or water for balance. Light, periodic spritzes maintain surface moisture and color development without dulling smoke flavor or softening the crust.
Sticky Glaze Without Scorching
Glazes with sugar can burn fast. Apply thin coats during the final phase, letting each set before the next. Keep temperatures steady and avoid flare-ups. A balanced glaze complements smoke and rub, adding shine and tang without stealing the show or tasting acrid.

Sauce or No Sauce?
Some purists skip sauce, celebrating bark and smoke. Others love a balanced, tangy finish. Offer sauce on the side for guests. If you apply, brush sparingly and let it set. Tell us your style in the comments and share your favorite house sauce recipe.
Serve Like a Pitmaster
Tent ribs loosely and rest 10–20 minutes so juices redistribute. This pause keeps slices plush rather than weepy. Resting also gives glaze time to tack up, helping every bite cling to bone with satisfying tenderness and a clean, confident pull.
Serve Like a Pitmaster
Flip ribs meat-side down to see the bones clearly, then slice straight between them with a sharp knife. Keep portions generous, avoid shredding, and wipe the blade occasionally. Clean slices showcase your bark and signal care to guests and hungry neighbors alike.
Serve Like a Pitmaster
Balance richness with crunchy slaw, pickles, and bright salads. Cornbread, beans, or smoked mac and cheese amplify comfort. Serve with iced tea or a crisp lager. Share your favorite pairing ideas and subscribe for new side-dish recipes tailored to smoked ribs.
Troubleshooting and Safety
Dryness usually comes from excessive heat or insufficient fat rendering. Next time, stabilize the fire sooner, spritz sparingly yet consistently, and avoid constant lid lifting. A finishing butter glaze and careful rest can salvage texture and restore a gentle, juicy sheen.
A Backyard Story to Inspire
First-Time Nerves Turned Confidence
On a windy Saturday, a new pitmaster nearly gave up when smoke turned white and temps fell. A quick vent tweak, patient wait, and steady spritzing transformed panic into pride. The first slice revealed rosy smoke rings and smiles worth every minute.
Neighbors at the Fence
When the aroma drifted down the street, two neighbors appeared with curious questions. They traded rub ideas, swapped wood chunks, and forged a weekend tradition. That single rack of ribs became a standing date, proving barbecue builds friendships as surely as appetite.
Your Turn: Share and Subscribe
Now it’s your cook. Follow the steps, post your photos, and drop your rub lineup in the comments. What wood sings for you—apple, cherry, or hickory? Subscribe for more step-by-step lessons, and tell us what ribs you’ll smoke next weekend.
Join our mailing list